자주 쓰는 코드 조각(snippet)은 미리 등록해두면 아주 편리하다. 특히 함수나 메서드를 생성하는 것은 매우 자주있는 일인데 매번 아래와 같이 타이핑을 한다면 생산성이 떨어질 수 밖에 없다.
public function functionName()
{

}
사용자 Snippet 살펴보기
커맨드 팔레트(⇧⌘P)에서 snippet으로 검색하면 Configure User Snippets라는 메뉴가 나온다.

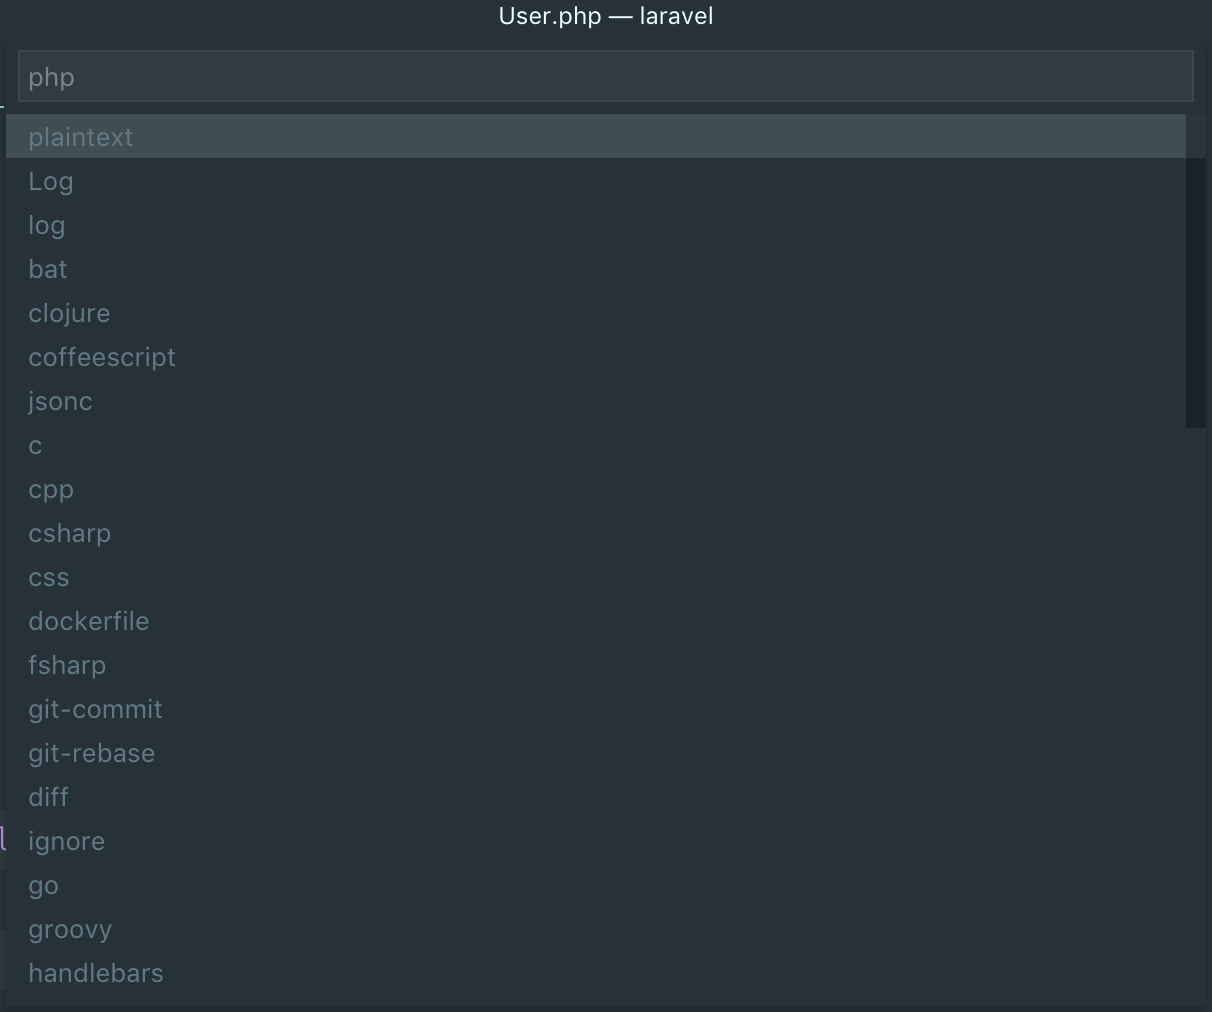
다음 대화상자에서 언어별 snippet을 확인할 수 있는데 php를 선택하여 열어보자.
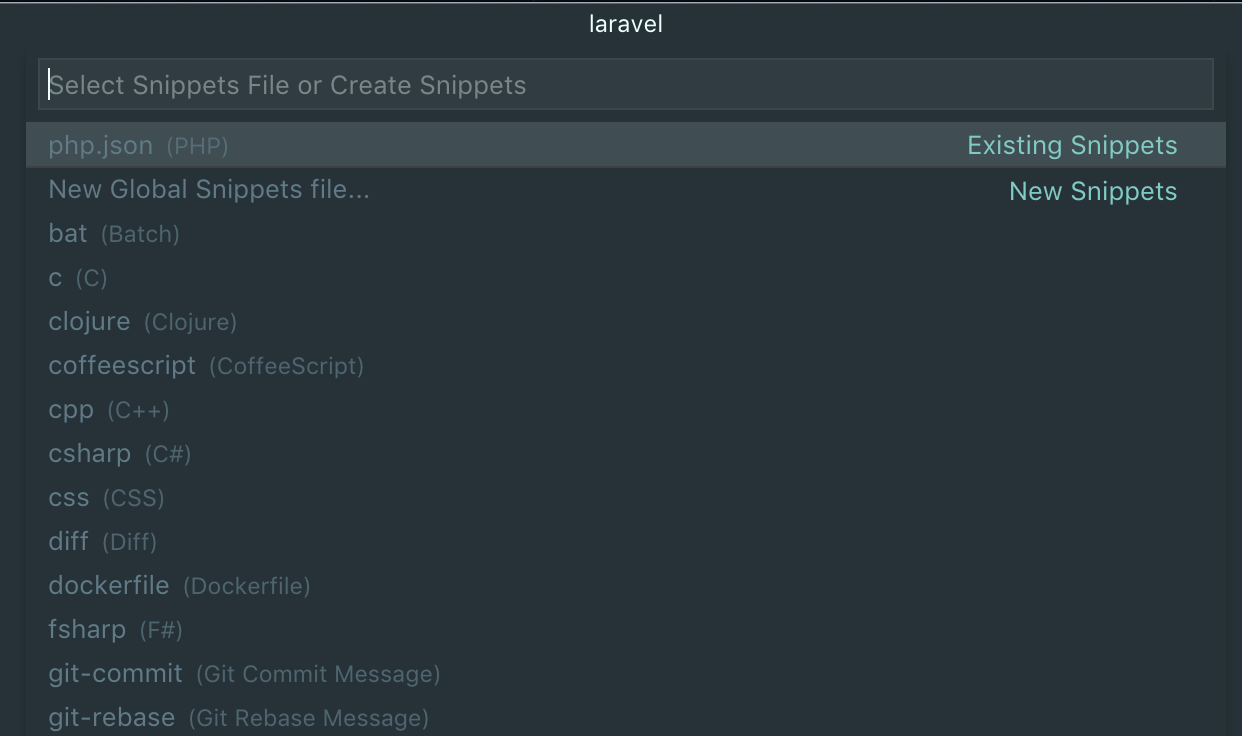
열어보면 아래와 같이 모두 주석처리가 되어 있다.
{
    // Place your snippets for php here. Each snippet is defined under a snippet name and has a prefix, body and
    // description. The prefix is what is used to trigger the snippet and the body will be expanded and inserted. Possible variables are:
    // $1, $2 for tab stops, $0 for the final cursor position, and ${1:label}, ${2:another} for placeholders. Placeholders with the
    // same ids are connected.
    // Example:
    // "Print to console": {
    //  "prefix": "log",
    //  "body": [
    //      "console.log('$1');",
    //      "$2"
    //  ],
    //  "description": "Log output to console"
    // }
}
prefix가 일종의 예약어이고 예약어 입력 후 TAB을 누르면 body가 나타나는 방식인데 JSON 코드로 되어있다보니 snippet을 만드는 것이 직관적이지는 않다. 이를 보완해줄 수 있는 도구가 바로 Snippet Creator이다.
Snippet Creator 설치
확장 프로그램에서 Snippet Creator 검색 후 설치한다.
Snippet 생성
아래와 같은 코드를 작성해 두고 블럭설정을 한 다음 커맨드 팔레트에서 Create Snippet을 실행해 보자.
public function foo()
{

}-
어떤 언어의 snippet인지 지정한다. php를 선택한다.
-
snippet의 이름을 지정한다. 'public method'이라고 입력한다.

-
snippet의 shortcut을 지정한다. Tab 자동완성 때 사용할 단축어를 입력한다. 나는 pubf를 사용하지만 met나 _m을 사용하기도 한다.

- snippet의 설명을 입력한다. New Public Method라고 입력한다. 또는 그냥 엔터를 쳐도 무방하다.

Tab 자동완성 활성화
환경설정에 들어가 Tab Completion을 활성화 한다.

Tab 자동완성 동작 확인
pubf + Tab을 눌러본다.
메서드명인 foo까지 같이 생성되므로 Tab 자동완성 후 직접 입력할 수 있게 변경해보자.
Snippet 수정
Configure User Snippets에 들어가 foo대신 $1을, 괄호 사이 탭으로 띄어져있는 부분에 $2를 입력한다. 그럼 처음 자동 완성시 커서가 $1에 가게 되고 거기서 탭을 하면 $2 위치로 이동한다.
{
    "public method": {
        "prefix": "pubf",
        "body": [
            "public function $1()",
            "{",
            "    $2",
            "}"
        ],
        "description": "public function"
    },
}
Protected Method Snippet 만들기
아래와 같이 바로 $1, $2를 넣어서 protected method snippet을 만들어보자.
protected function $1
{
\t$2
}
참고
https://laracasts.com/series/visual-studio-code-for-php-developers/episodes/5